Lesson summary
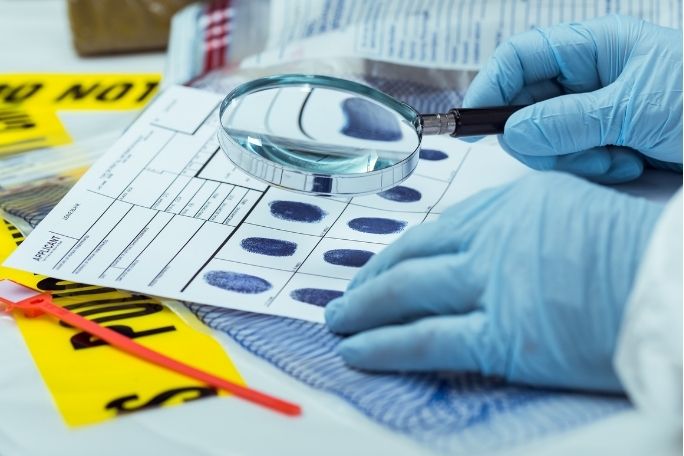
Students will learn about trace evidence and how forensic scientists use it in forensic investigations. They will also learn about some of the limitations of using physical evidence and some of the technology involved in obtaining/analysing it.
Learning intentions:
Students will...
- understand what physical evidence is
- understand how forensic scientists use physical evidence in their investigations
- understand the limitations of using physical evidence
- be familiar with some of the technology forensic scientists use to obtain and analyse physical evidence.
Success criteria:
Students can...
- identify what physical evidence is and how to obtain and analyse it
- identify some of the technology used to gather and analyse physical evidence.
Lesson guides and printables
Lesson details
21st Century Skills
This lesson is designed to build students’ competencies in the following skills:
- communication
- collaboration
- critical thinking
- ethical understanding
- problem solving.
Curriculum Mapping
Australian Curriculum content descriptions (v9):
Year 10 Science:
- investigate how advances in technologies enable advances in science, and how science has contributed to developments in technologies and engineering (AC9S10H02)
- examine how the values and needs of society influence the focus of scientific research (AC9S10H04)
Syllabus outcomes: SC5-12ES, SC5-13ES
General capabilities: Critical and creative thinking, Ethical Understanding, Literacy
Relevant parts of Year 10 achievement standards: Students analyse the relationship between science, technologies and engineering. They analyse the key factors that influence interactions between science and society.
Level of teacher scaffolding: High – there is likely to be quite a lot of explanation needed, as well as students requiring assistance during the practical part of the lesson
Resources Required
Note: In this lesson, there is an opportunity to create a ‘real’ crime scene for students to inspect for evidence. If this is the case, you’ll need to set it up and have it ready to go before the students walk into the classroom.
Part A:
- printed copies (one per group) of crime scene image OR real-life crime scene set up in the classroom
- sticky notes.
Part B:
Per group:
- a 'mini' crime scene in a plastic tub or cardboard box (as shown in the photo) per group containing the following things:
- animal blood from a meat tray on a 'murder weapon' (e.g. a cotton bud)
- corn syrup blood OR animal blood from a meat tray to make blood splatters
- human hair (Hint: you could have two if you wanted – one from the victim and one from the perpetrator)
- small doll
- small plastic or glass cup with fingerprints on it (Hint: A small lab beaker should work!)
- toy car and ink (to make tyre tracks)
- Collecting Trace Evidence - Student Worksheet
- evidence bags/bottles
- forceps
- hairnets (optional)
- magnifying glass
- rubber gloves.
Part C:
Per group:
- Analysing Trace Evidence - Student Worksheet
- microscopes
- microscope slides and coverslips
- forceps
- 3% hydrogen peroxide in a dropper bottle (these can be purchased from chemists)
- Phenolphthalein in a dropper bottle (these can be purchased from school science suppliers)
- sticky tape
- container of powder (cocoa, talcum powder or similar)
- rulers
- fingerprint “database” (i.e. a piece of paper with five different ink fingerprints labelled ‘suspect 1-4’ and ‘victim’)
Per class:
- five different toy cars labelled ‘Suspect 1-4’ and ‘victim’
- hair sample “database” (i.e. five pre-prepared microscope slides labelled Suspect 1-4 and victim)
- sticky notes.
Additional Info
This is an original Cool+ lesson.


Welcome back!
Don't have an account yet?
Log in with:
By signing up to Cool.org you consent and agree to Cool's privacy policy to
store, manage and process your personal information. To read more, please see
our privacy policy here(Opens in new tab).
Create your free Cool.org account.
Many of our resources are free, with an option to upgrade to Cool+ for premium content.
Already have an account?
Sign up with:
By signing up to Cool.org you consent and agree to Cool's privacy policy to
store, manage and process your personal information. To read more, please see
our privacy policy here(Opens in new tab).